Quick summary for those who need to read and run:
Likes: Size XS fits perfectly (I normally sew a 12 with a FBA); might shorten by a smidge from neck to waist next time (I’m 5ft tall) but it’s fine as is.
Dislikes: The finishing of the band, I would look into doing this a different way next time as it could be finished more neatly than the pattern instructs you to do it. Attaching the piping: you attach the piping, then attach the band over the top. I felt this could perhaps be done in one go?
Challenges: Band stretching by nearly 6cm when attaching. Fabric fraying. Getting a bit carried away with the overlocker and slicing into the fabric below the pocket!
Alterations: Sleeve length – they would have been WAY too long but I prefer shorter sleeves anyway.
What I learned: I need to buy a piping foot! I really want the inside to look as good as the outside, and I need to take more time to get the finish I want. If something seems like it’s going wrong – stop and work it out, don’t just carry on as it just creates more problems later.
Full Version:
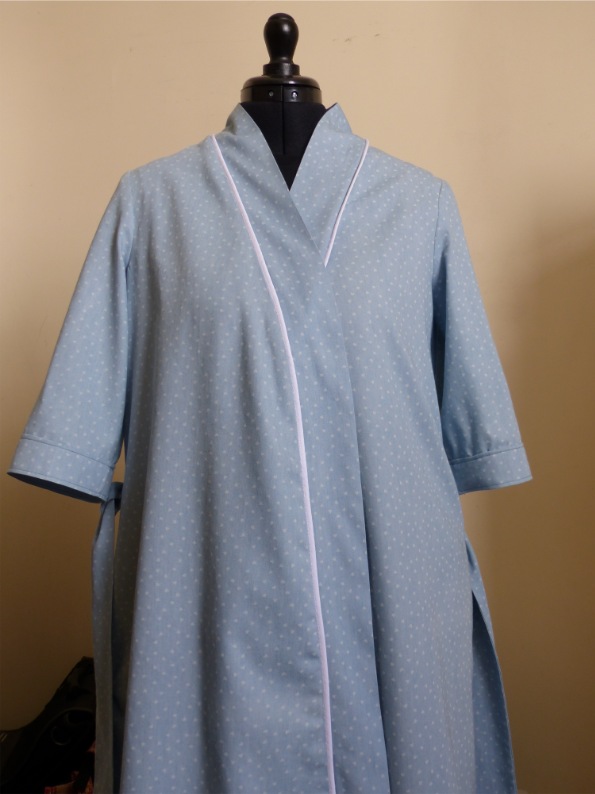
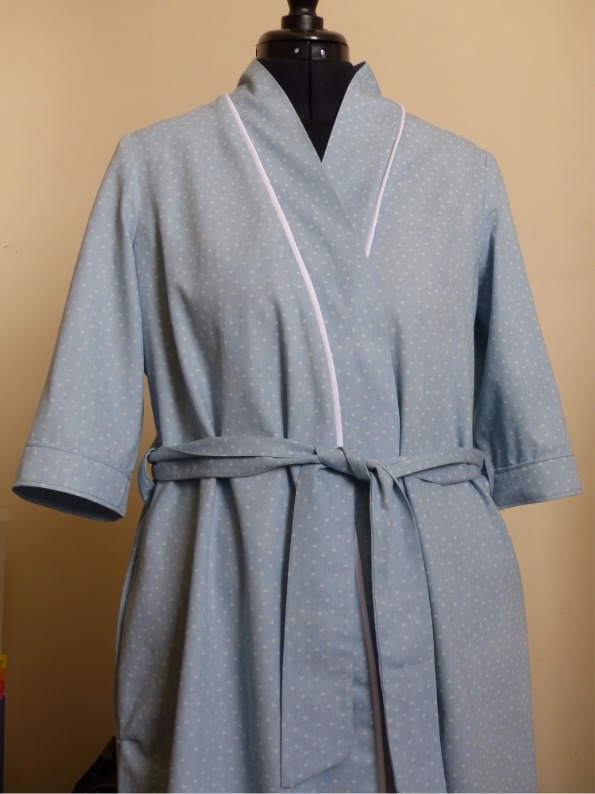
My current summer-weight robe has seen better days so I bought this pattern a while ago with a view to making a replacement, then spent a long time looking for the right fabric. Then my sister found this chambray at Abakhan, where they sell some fabrics by weight. There were several metres of it for about £17. Last week I had a few days off work which meant I could finally get round to making it.
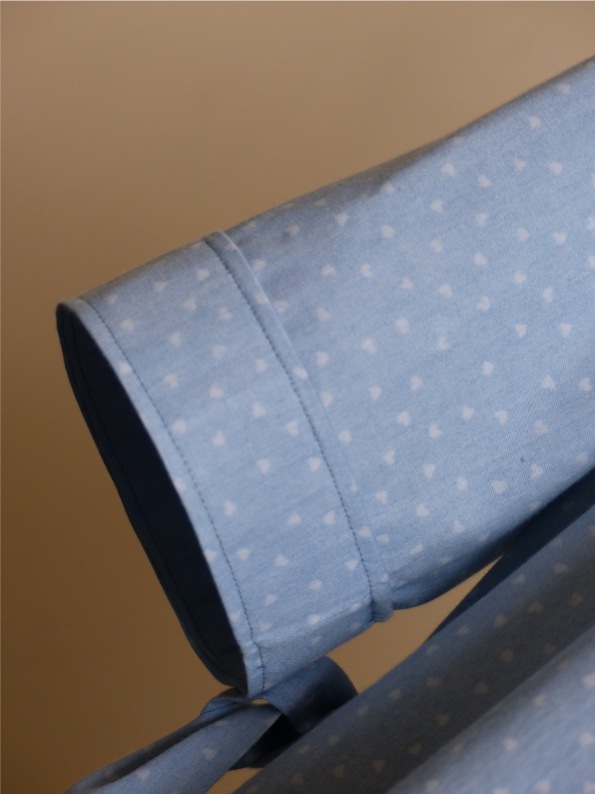
Looking at the finished garment measurements and comparing this to my current robe, I decided to take a chance and sew the smallest size. After tissue fitting I thought I could get away with it and this turned out to be the right choice, as it really is a perfect fit. The only alteration I made was to shorten the sleeves considerably – by 12 cm before cutting out, then I turned them over several times as I wanted them to finish just below my elbows.
In my head Kwik Sew=easy. And really, this isn’t a difficult sew for an advanced beginner but it could have gone better. The fabric frayed horribly so the overlocker I have on almost permanent loan from my sister was put to good use! In addition, the band – which had been a perfect length – stretched by nearly 6cm as I was sewing it on. I realised this was happening fairly early on and should have stopped to work out what was going wrong and what I could do to prevent it. I didn’t, and this was a mistake which took quite a bit of time to rectify.
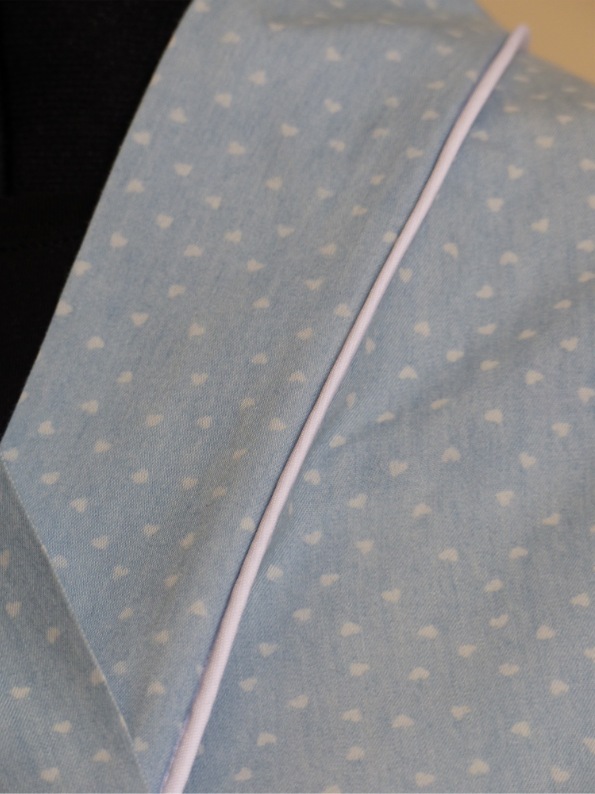
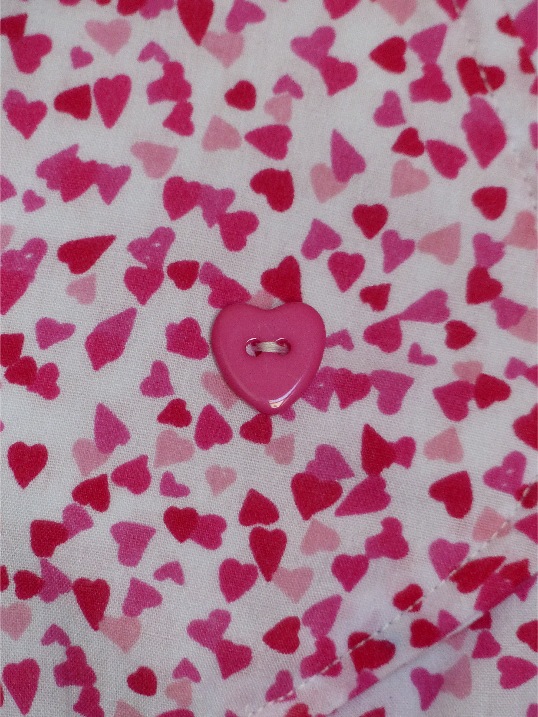
This was my first attempt at piping, and I don’t have a piping foot but thought my zipper foot would be okay. It wasn’t. Although the piping doesn’t look awful it could be better. The piping is attached to the main garment, then the band is stitched – in the same place – over the top. I felt this could all have been done at the same time. The picture below shows the best bit of the piping – lesson learned for next time!
I followed the instructions pretty much to the letter and I really, really don’t like the finish of the inside of the band. The raw edges are simply overcast (or in my case, overlocked). This is a much neater way of doing it and I will definitely do this next time. Overall, though, it’s turned out okay and will definitely be well worn over the summer months.

You must be logged in to post a comment.